
Deep Freeze Food
When the mercury drops, I cook. Preparing comfort food is an escape from emails, phone calls, texts, controversy, reading…work. I justify stepping away from work by telling myself, “Well, you’ve gotta eat, dummie.”

The history of chicken and dumplings is a murky one. Some argue it was a struggle meal, but evidence suggests otherwise. Some credit the Southern U. S., others credit the North, and some folks even attribute the dish’s origins on this continent to Quebec.
We can’t even agree on what a dumpling is in the context of C&D. There are slick, flat dumplings (think Cracker Barrel) that are simultaneously attributed to the American South and to Pennsylvania. I won’t hold it against you if you’re a flat-dumplinger, but I call ‘em like I see ‘em, and those are just fat noodles - not dumplings. To me, a dumpling is buttermilk biscuit dough dropped into simmering soup.
If you have chicken in your freezer and some basic pantry items, I encourage you to throw this together. Add thyme or sage or whatever poultry-friendly herbs you like. My herbs plants were already stowed for the freeze, so I didn’t use any for this batch of C&D.

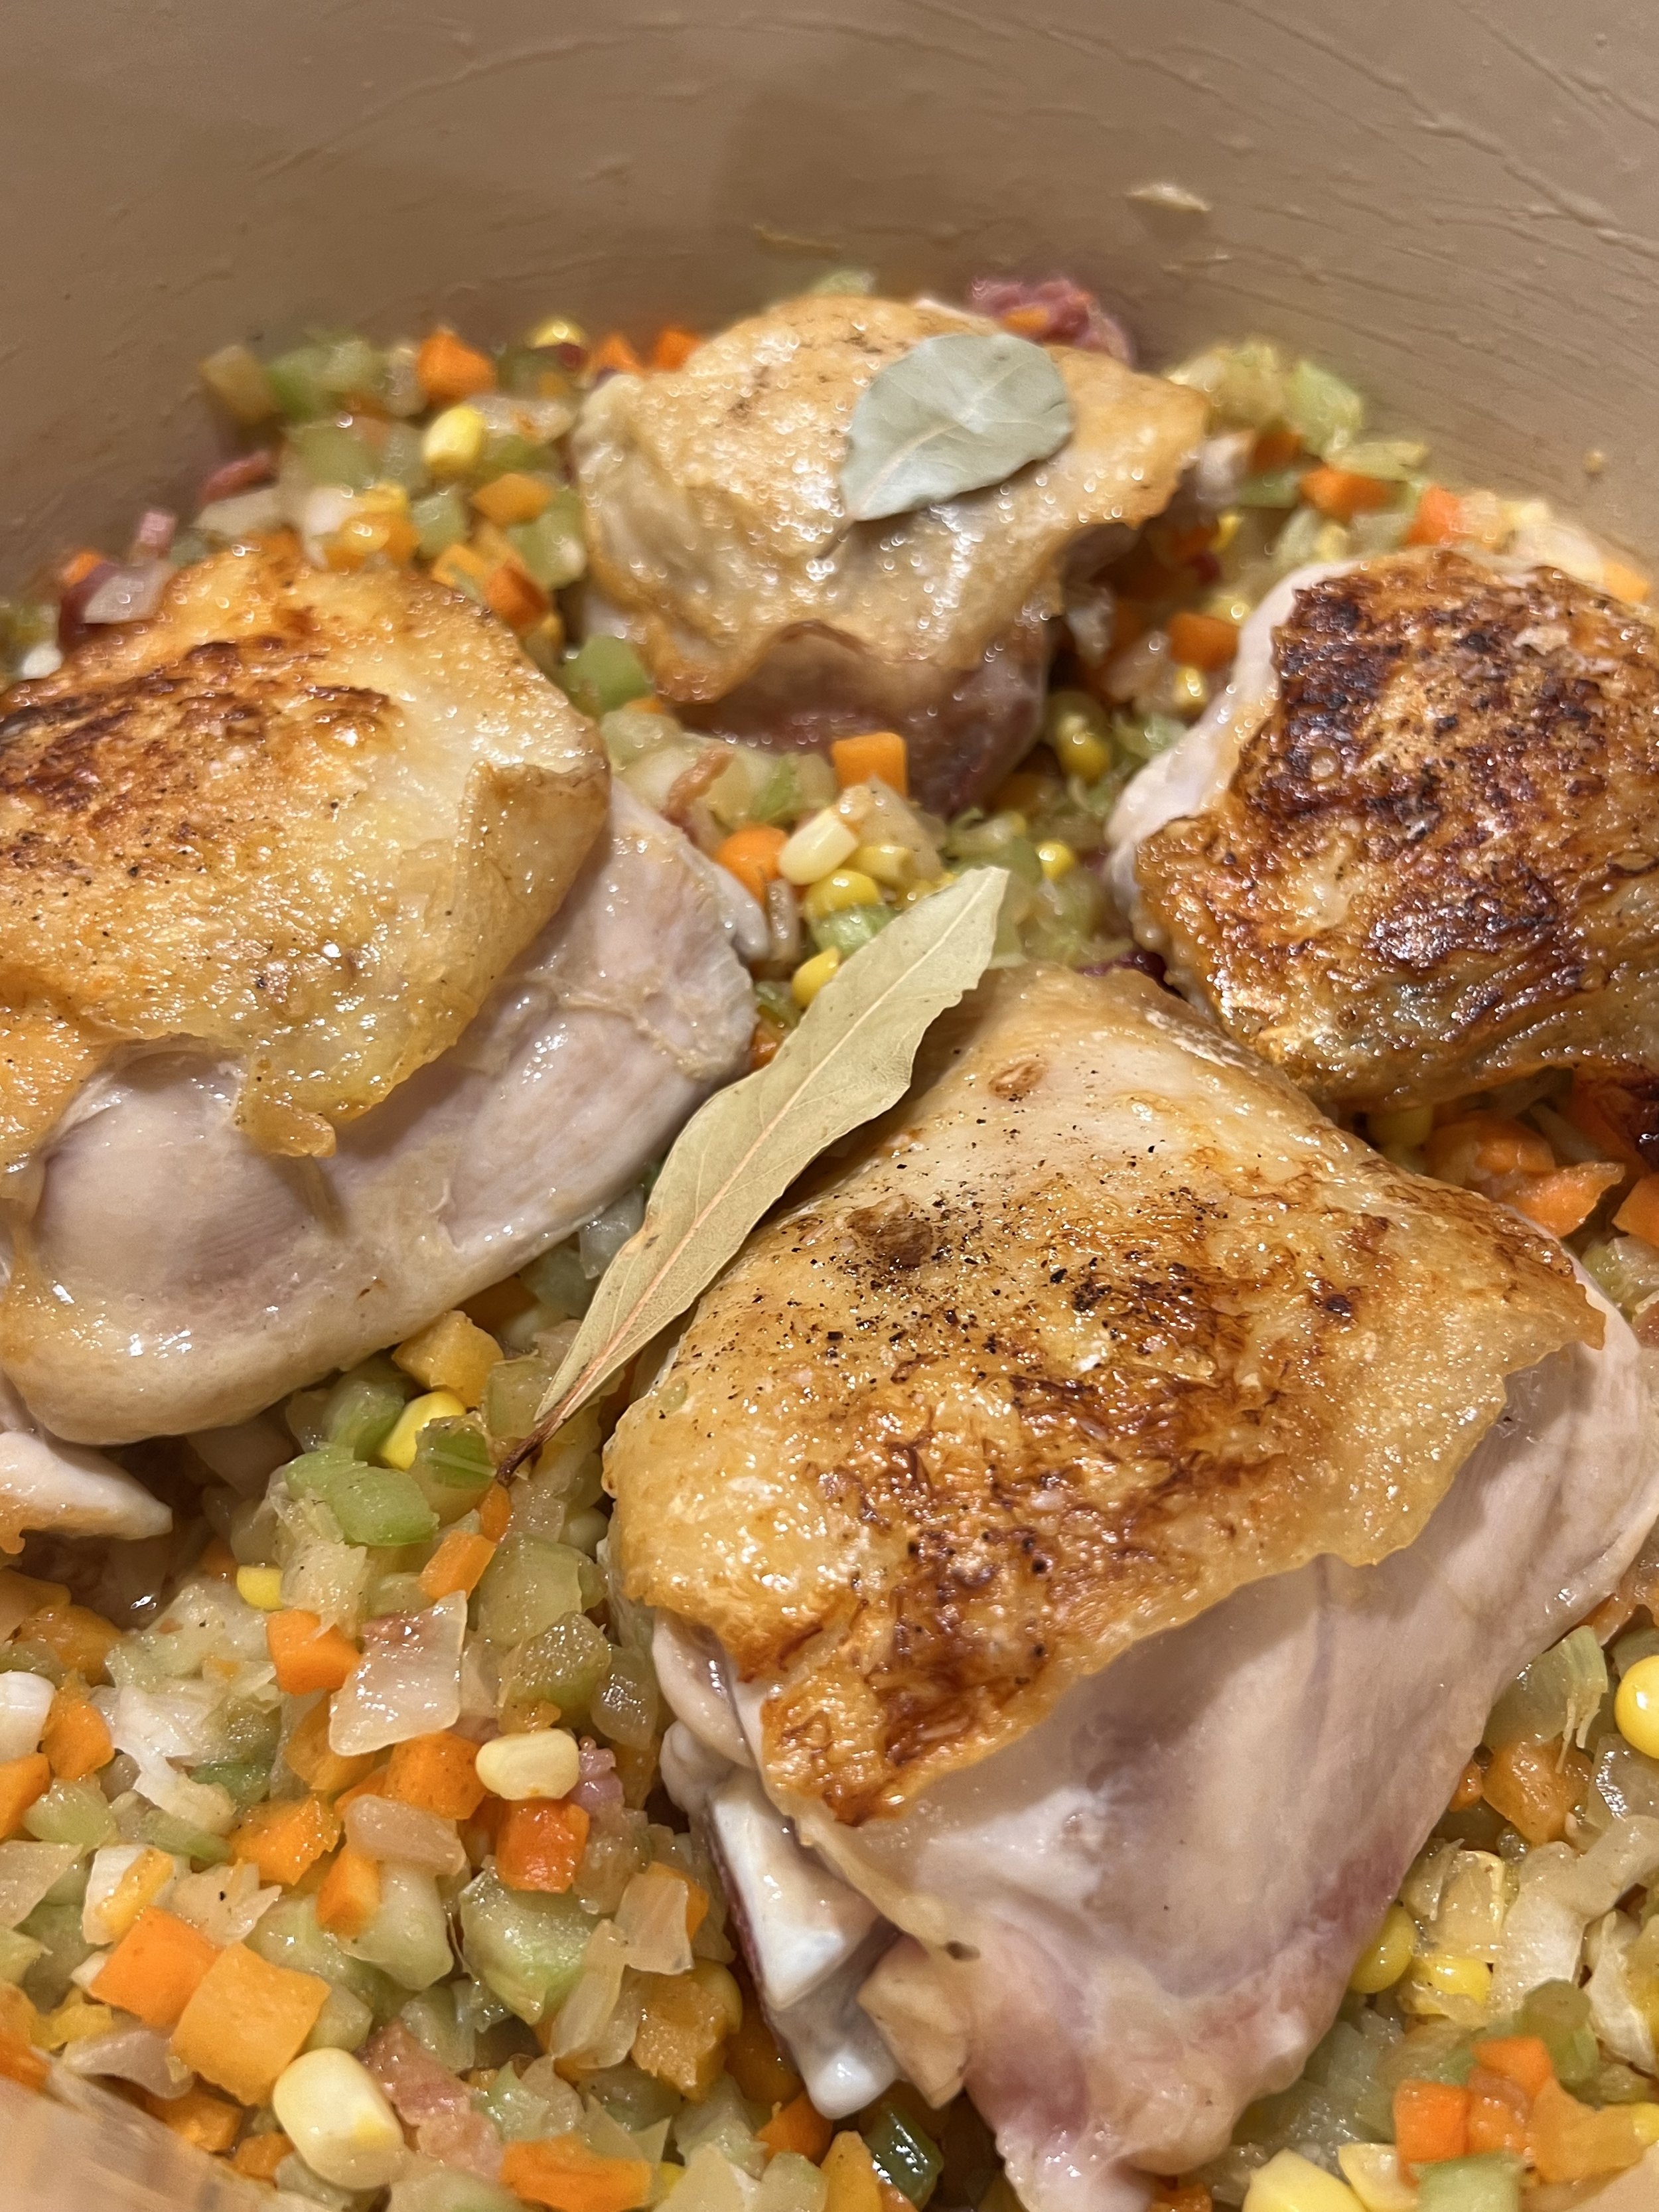
Heat up your favorite soup pot or Dutch oven over medium-high heat. I use my trusty 2-quart blue Dutch oven. You can oil your pan, but there’s really no need. Once the fat renders out of the chicken skin, it will cease to stick to the pan. That’s a good way to tell when you’re done cooking on that side.
Season your bird pieces with salt and pepper. Place them skin-side down in the pot. Cook for about 5 minutes, then flip. (Mind the grease splatter!) Cook for another 5 minutes on the naked side. Doneness isn’t the goal here. We’ll finish cooking the chicken in the soup.

Remove the chicken and set aside. I had bacon in the fridge, so I chopped up 2 slices and threw those in, letting the fat render for about a minute. This is optional. (I can’t believe I just said bacon is optional.)
Add your onions/celery/carrots/garlic to the pot. Give them a nice stir with a wooden spoon to start getting the tasty brown bits off the bottom of the pot. Let the vegetables sweat and soften for 5 or 6 minutes. Stir frequently. Few things smell worse than burnt onions. Your kitchen should smell like garlic and chicken now. Maybe bacon if you had some on hand.

Now add your chicken back to the pot. Toss in your bay leaves. Add your liquid. I used 5 cups of chicken stock and 7 cups of water. You could go with all stock or all water, as your pantry dictates. 12 cups is about right. If it seems like too much, that’s okay. Some will evaporate during the simmer to come.
Season your broth with salt and pepper. I add a few sprinkles of cayenne at this stage. It brings some warmth to the soup without making it spicy. If you like spicy, go nuts!
Lower your heat to medium and bring it to a simmer. Let it simmer, uncovered, about 30 minutes or until the chicken is cooked through. Remove the chicken from the pot and set it aside to cool. Now is the perfect time to fish out the bay leaves and thank them for their service. Turn your heat down to low for the final stage of your C&D journey.
While the chicken cools enough for you to handle, mix up your dumpling dough.

To a medium bowl, add the flour, baking powder and baking soda. Add a little bit of salt and a couple of grinds of pepper. Stir it all around with a fork to distribute those leavening agents all around. We’re about to add the ingredient that makes the magic happen: acid. In our case, buttermilk. Regular milk also works, but it’s not as acidic and doesn’t impart the same flavor to your dumplings.
QUICK TIP: If you don’t have buttermilk, you can make some! To 3/4 of a cup of regular milk, add 3/4 tablespoon of white vinegar or lemon juice. Give it a stir and let it sit for 5 minutes. The milk will thicken and curdle just a bit. Now you have the creamy, acidity you need to give your dumplings some lift!
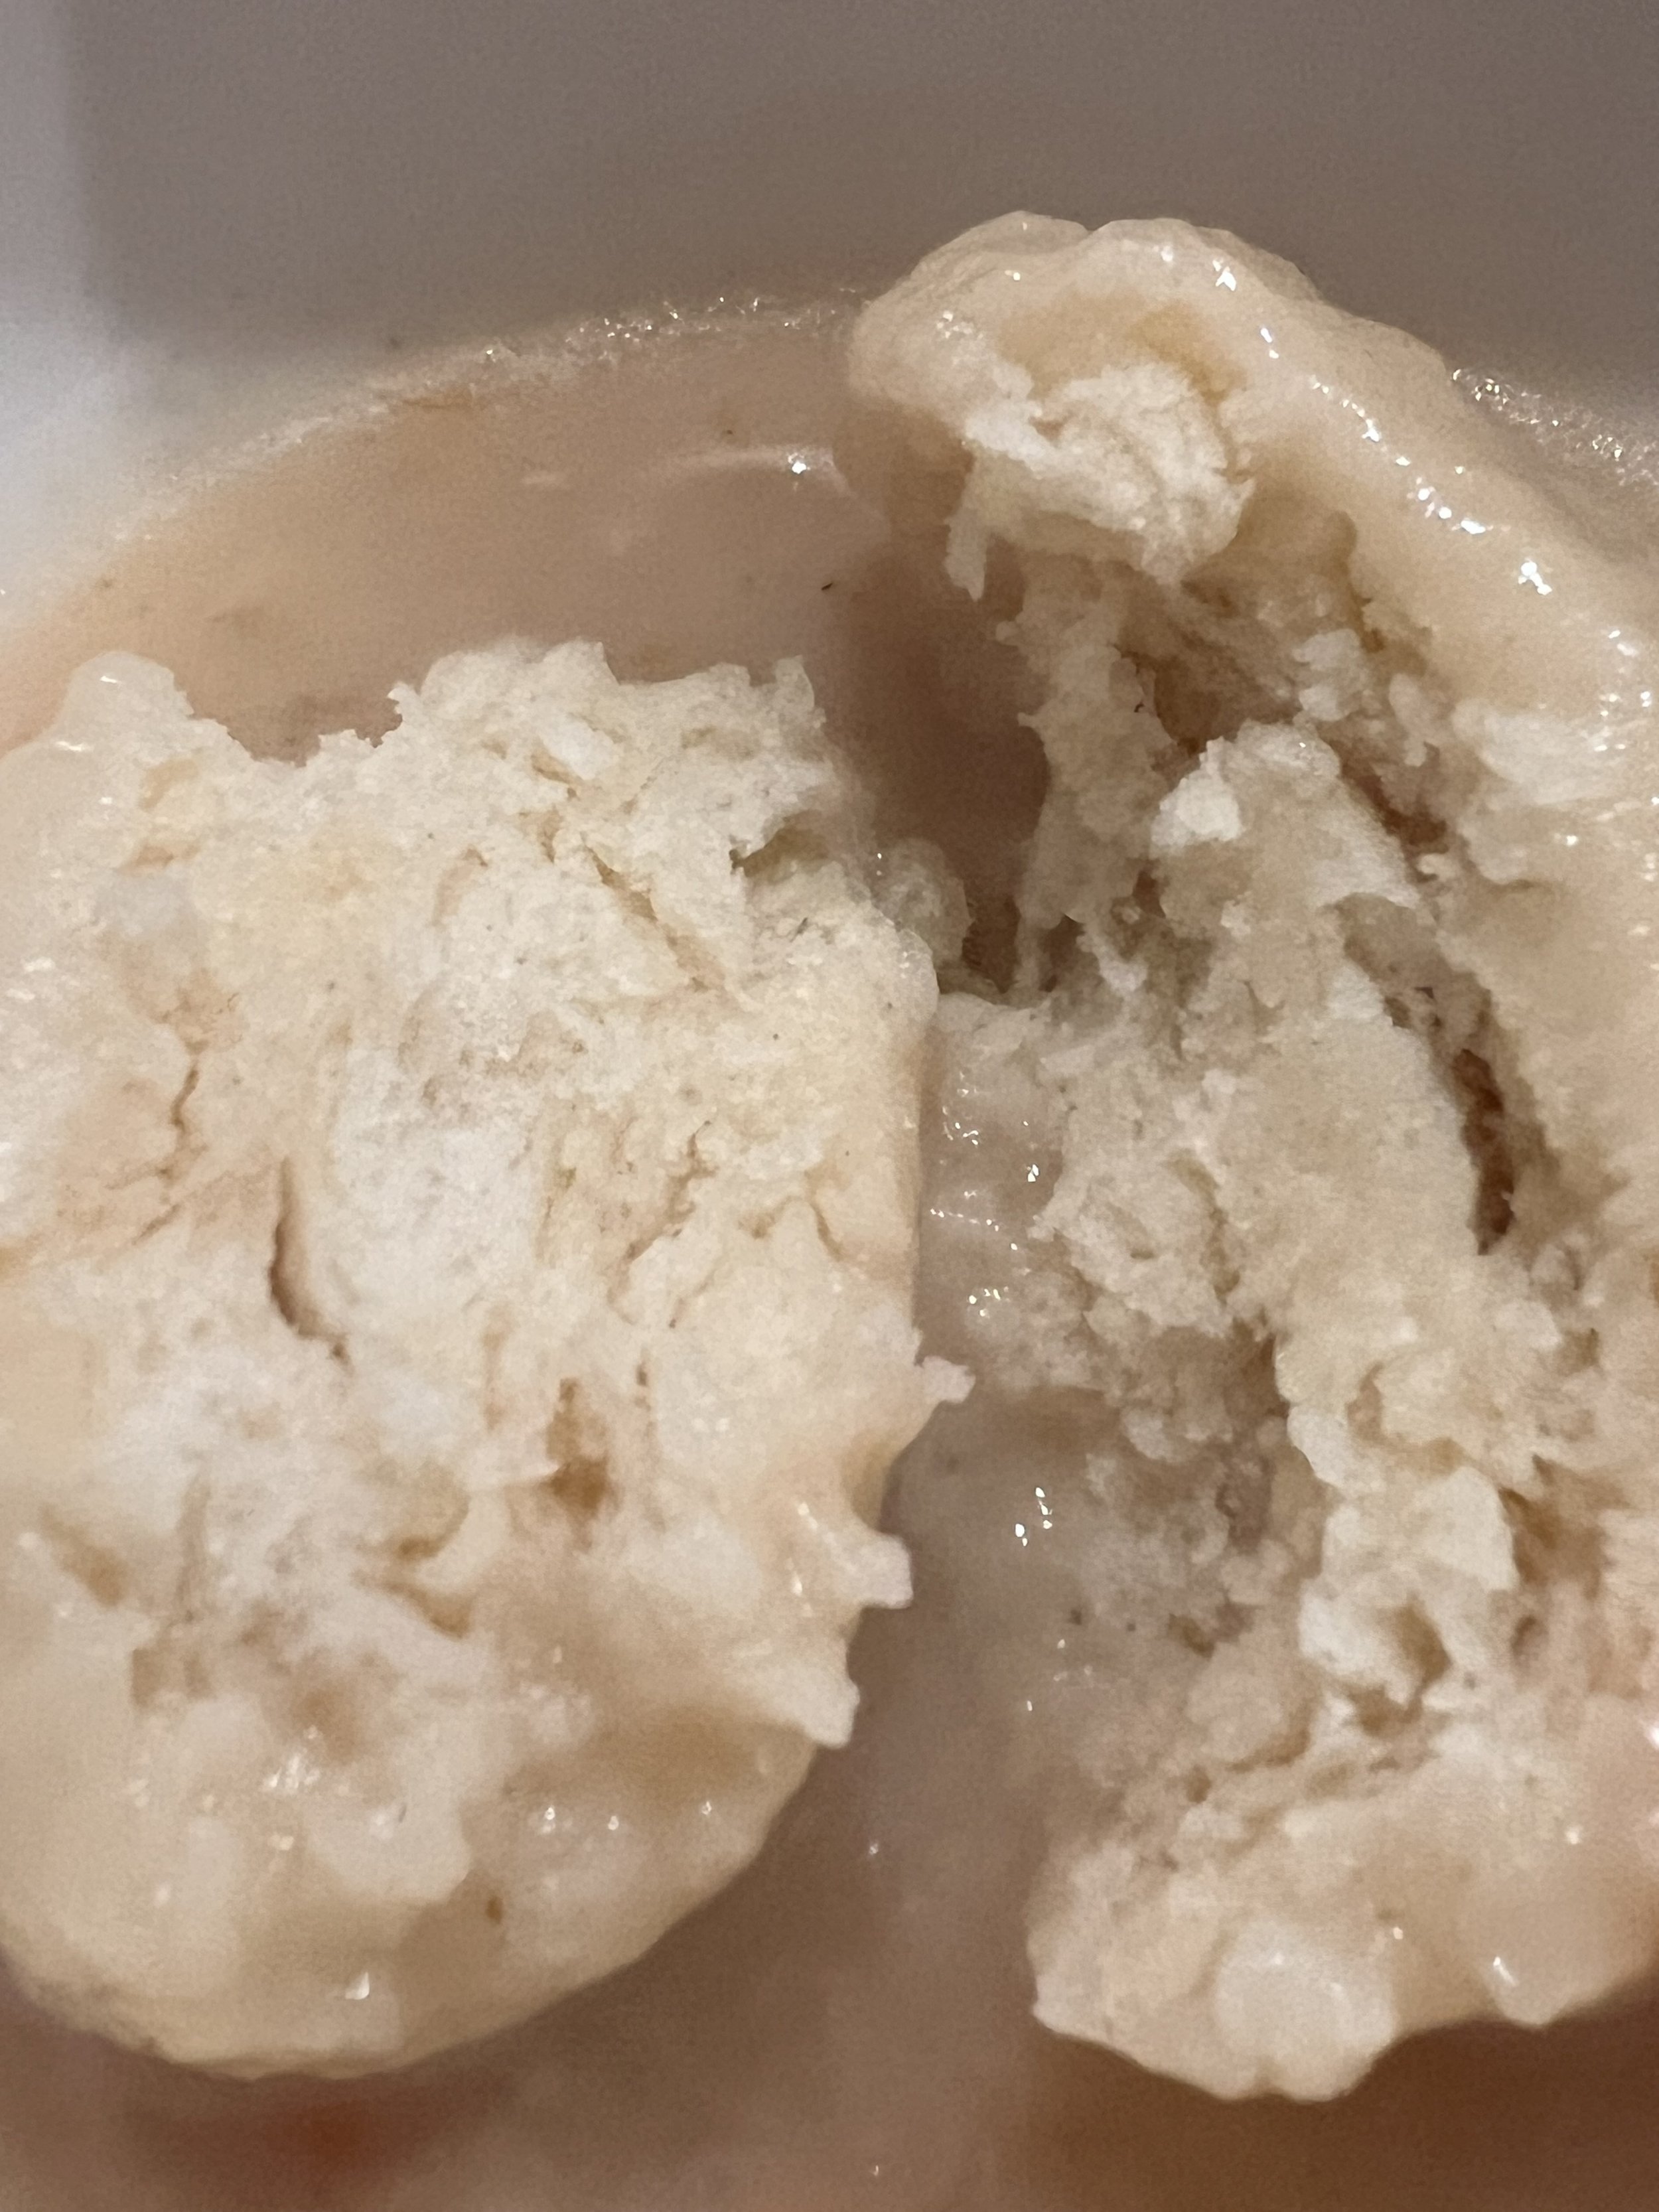
To your dry ingredients, add your buttermilk and melted butter. Stir until it’s as combined as you can get it. The dough won’t be as cohesive or wet as, say, a cookie dough. Some dry patches of flour are a-okay. It will help to thicken up your soup once we drop the dumplings in. Here’s what mine looked like for this batch:

Your chicken should be cool enough to handle now. Remove the skin and toss it. I prefer to shred my chicken with two forks (or my hands) but you could also chop yours into bite-size pieces. Whatever texture you prefer, do that, then add the chicken back into the soup and give it a stir. Take a taste to see if more salt, pepper or cayenne are in order.
We’re in the home stretch!
Using a cookie scoop or your hands, grab up some dough and get it together in a vaguely round shape. Carefully drop it into the simmering soup. (I drop mine out at the edges first, then work my way toward the center of the pot. As the flour takes on the cooking liquid, the dumplings will plump up and look like clouds. I like to ladle some of the soup over the top of the dumplings before slapping on the lid.

Cook, covered, for 10 to 15 minutes. During that time, the dumplings will firm up and take on smoother look. At about the 12-minute mark, I like to take one out and do a taste test. This was the texture of my test dumpling. It should resemble a biscuit in taste and texture.
Once you’re satisfied with the texture of your dumplings, you’re done! Serve it up to the people you love, even if they’re flat-dumplingers. Those folks need love, too. It keeps well and makes fine leftovers. Enjoy some kitchen catharsis during this extra-wintery time in Texas, y’all. A book and a bowl of something warm will help recharge your batteries for the week to come.
